DSAR - Mapping Configuration
Overview
DSA Request Configuration is essential for the requestors to place six different service requests (copy, delete, opt-out, summary of data, correct data, and unsubscribe) through the privacy portal.
DSAR Mapping Configuration is a screen used to create and manage mappings between domains, request types, requestors, acts, forms, and flows. This setup allows you to build customized workflows for handling privacy requests efficiently and in compliance with relevant regulations.
All request types, domains, acts, requestors, flows, and forms are built separately and mapped together on the Mapping screen.
Creating a Mapping
- Log in to the Data Governance tool.
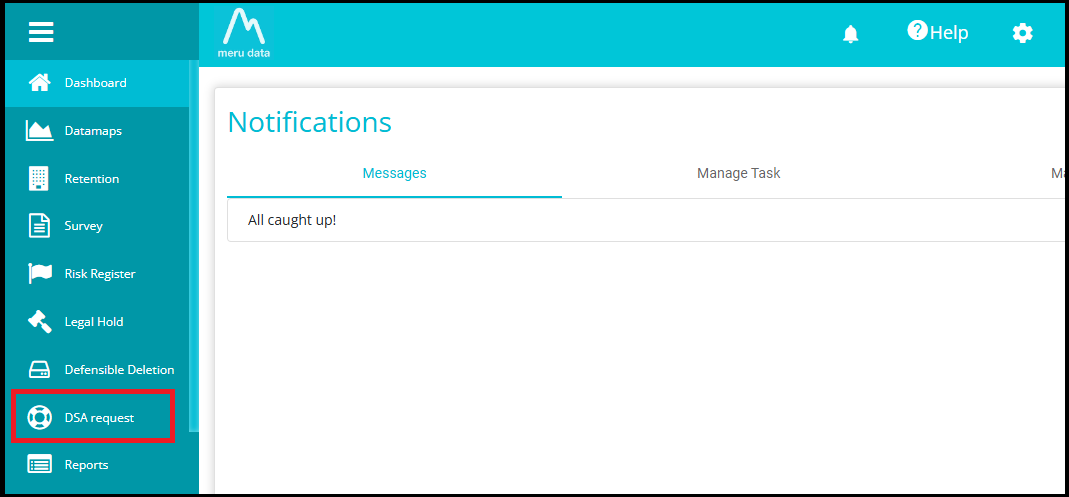
- From the Hamburger Menu on the Homepage of Meru Data Governance Tool, click on DSA Request.
- Switch the toggle on to View Configuration.
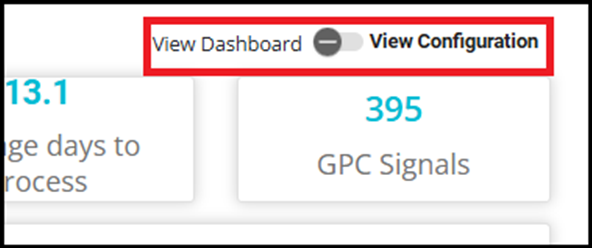
The selection takes you to the DSAR Configuration screen displaying the Mappings, Act, and other options related to tenant configuration.
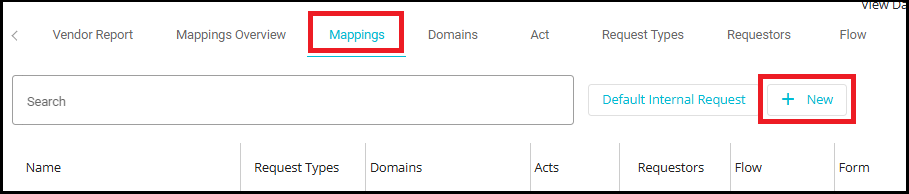
- Click on the 'Mappings' tab on the DSAR Configuration screen.

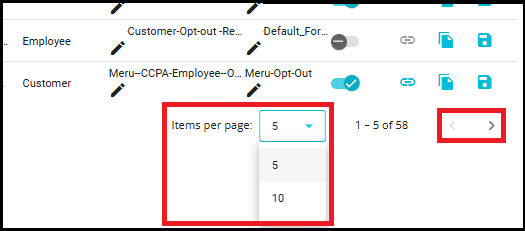
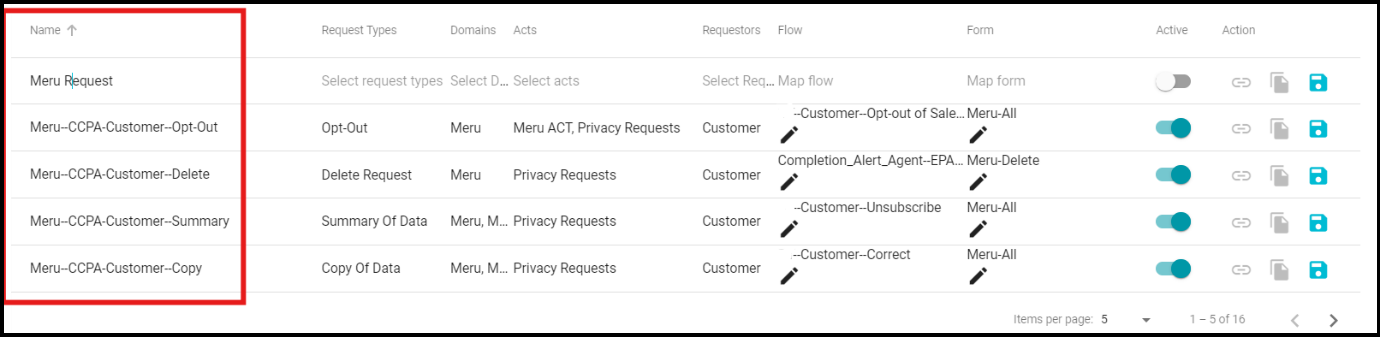
Note: By default, 5 mappings are displayed on the screen. You can adjust this by selecting a desired number from the "Items per page" dropdown at the bottom. You can also create new mappings or edit existing ones as needed.
Click on the
 icon present below the screen to view the mappings present on the next screen.
Use the
 icon below the screen to navigate to the main mappings screen.
For creating a new mapping,
- Click on the 'New +' button.
- You can see a new column appearing above the existing mappings (if any).
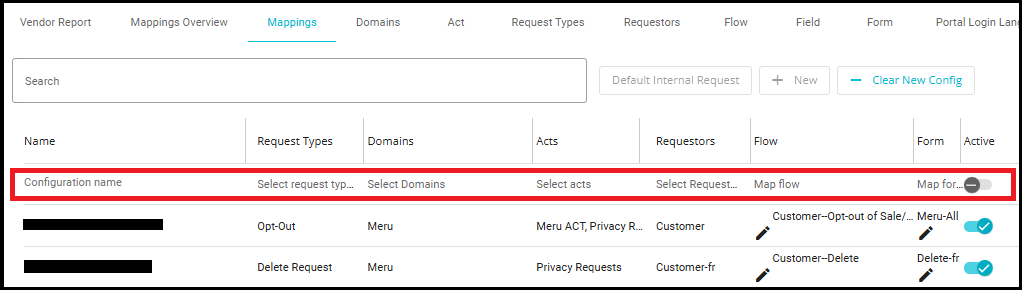
- Define the mapping configuration name under the 'Name' section.
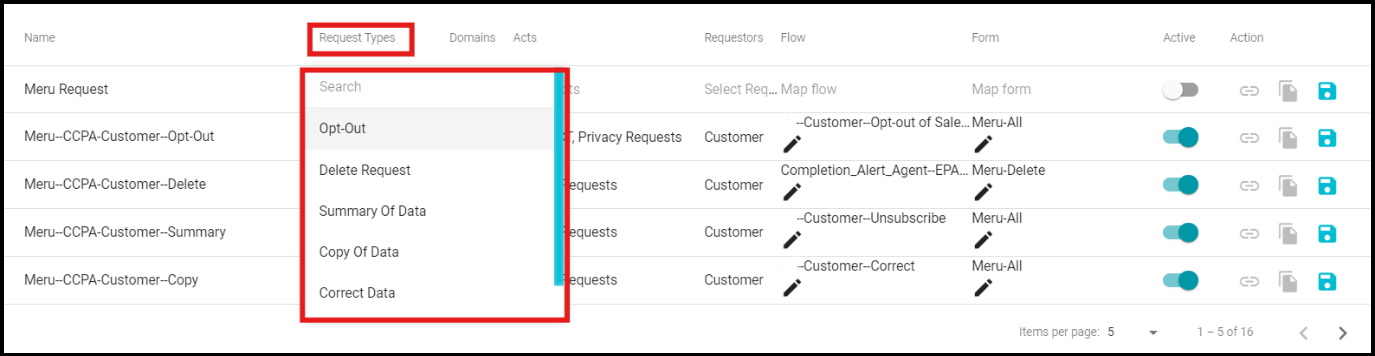
Click under the 'Request Types' tab to open the drop-down menu, which displays the different request types created for this tenant.
Select the 'Request Type' to be mapped to the tenant from the drop-down menu.
Note: This menu shows all the pre-defined and the request types that you've created for mapping to a tenant.
For detailed information about request type configuration, please refer to the DSAR-Request Types Configuration.doc
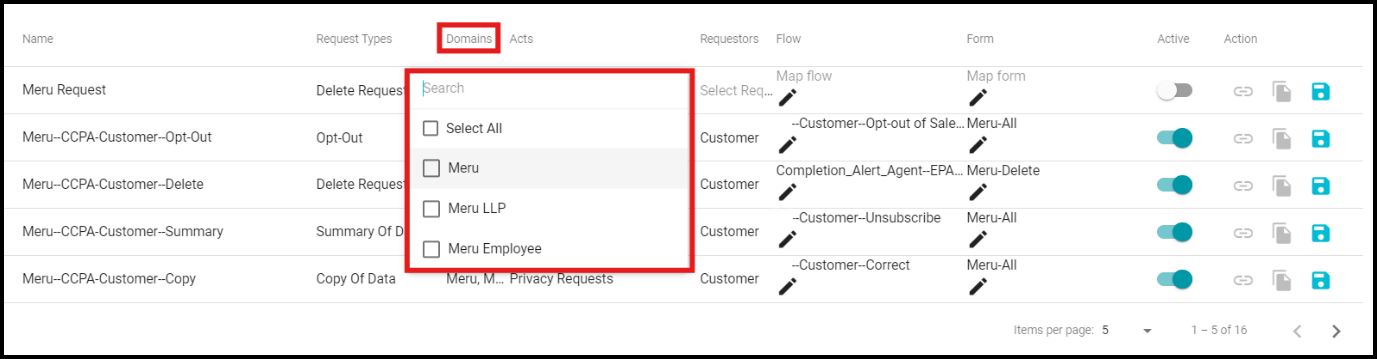
Click on the 'Select Domains' to open the tenants' drop-down menu, which displays the different domains created for this tenant.
Select the 'Domain' from this drop-down menu.
Note: The drop-down menu displays all domains associated with the selected tenant, allowing you to choose one or more domains for mapping within the configuration.
For detailed information about Domains configuration, please refer to the DSAR-Domains Configuration.doc
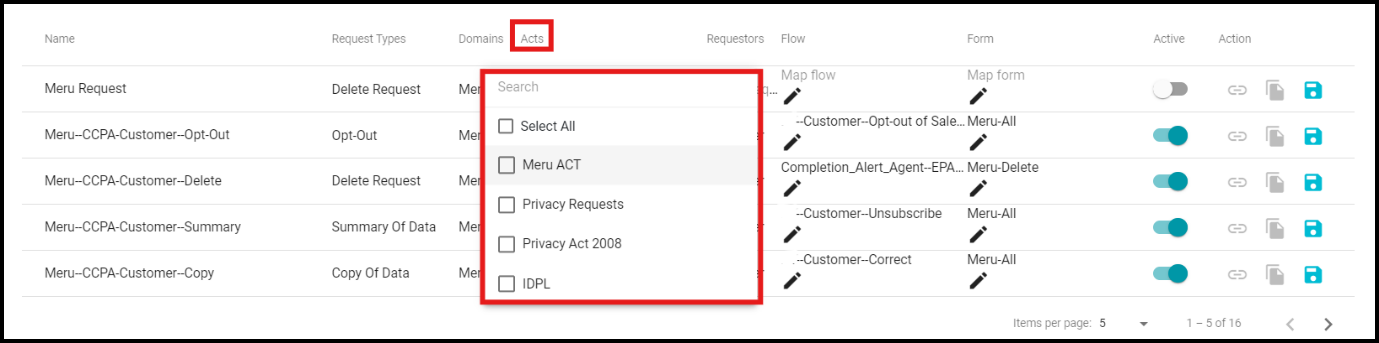
Click on the 'Select Acts' option to open the drop-down menu, which displays the different acts created for this tenant.
Select the required Act from the drop-down menu.
Note: The Acts drop-down menu displays all the acts/regions applicable to the tenant. You can select one option at a time from the menu.
For detailed information about Acts configuration, please refer to the DSAR-Act Configuration.doc.
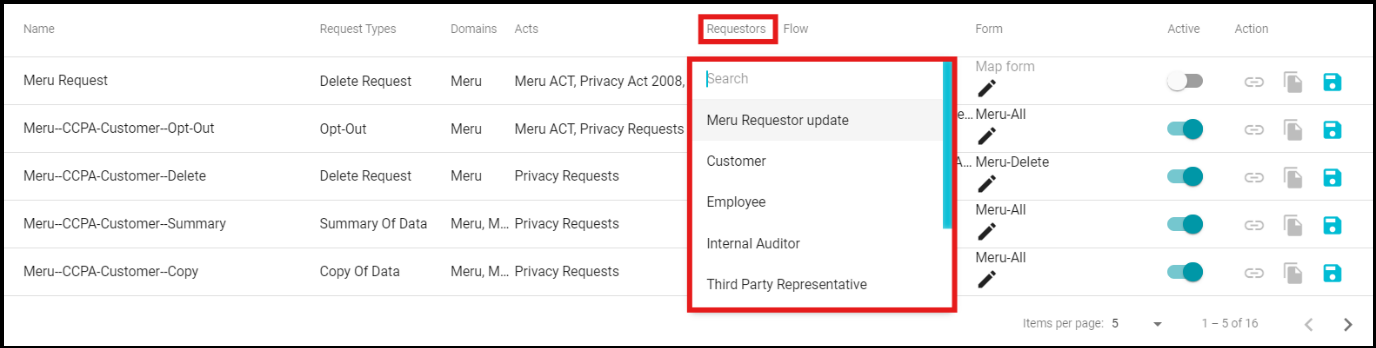
Click on the 'Select Requestors' option to open the requestors drop-down menu, which displays the different requestor types created for this tenant.
Select the Requestor from the drop-down menu.
You need to create a separate mapping for each requestor type that you configure for the tenant.
Note: The Requestors drop-down menu shows different possible requestors for a tenant. Here, you can find all the pre-defined and currently defined requestor types that can be mapped to the tenant.
For detailed information about Requestors configuration, please refer to the DSAR-RequestorsConfiguration.doc
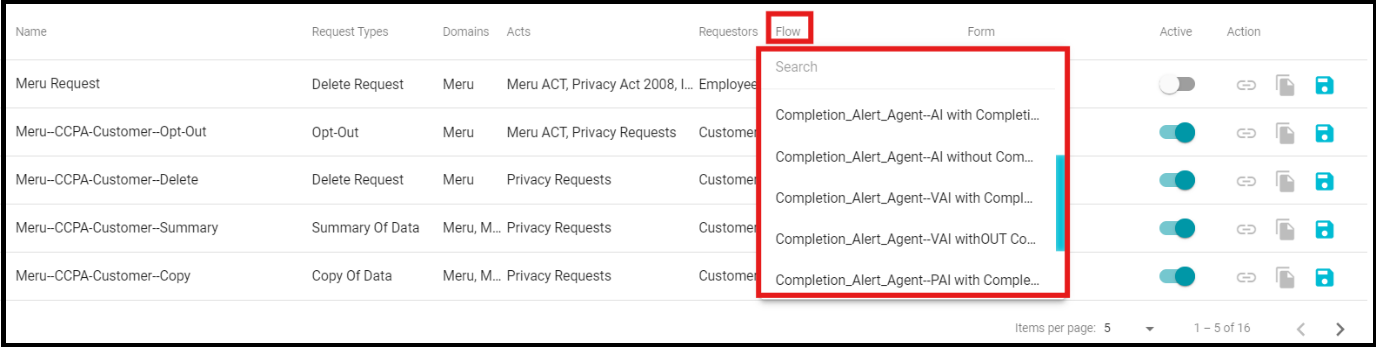
Click on the 'Select Flow' option to open the flow drop-down menu, which displays the different flows created for this tenant.
Select a 'Flow' from the drop-down menu.
Note: Flow drop-down menu provides different flow types configured for the selected tenants. You can choose the required request flow from the menu.
For detailed information about Flow configuration, please refer to the DSAR-Flow Configuration.doc
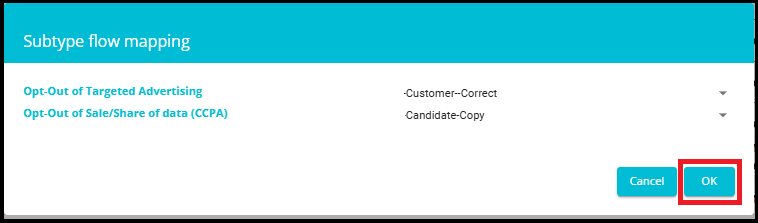
- The Edit icon in the Flow section allows you to map different flows to various requestor sub-types.

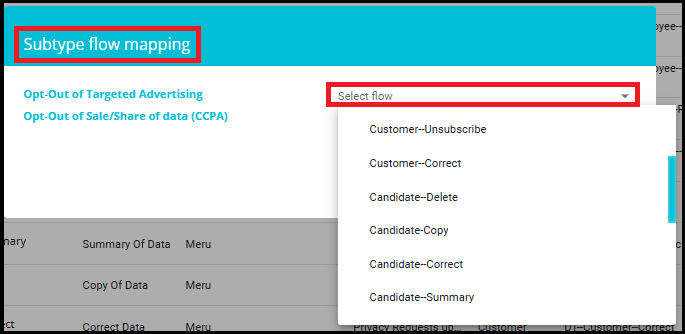
- After selecting the subtype flow, click on the OK button.
- Similarly, the 'Form' tab provides different options for the forms to be displayed on the Welcome Screen.
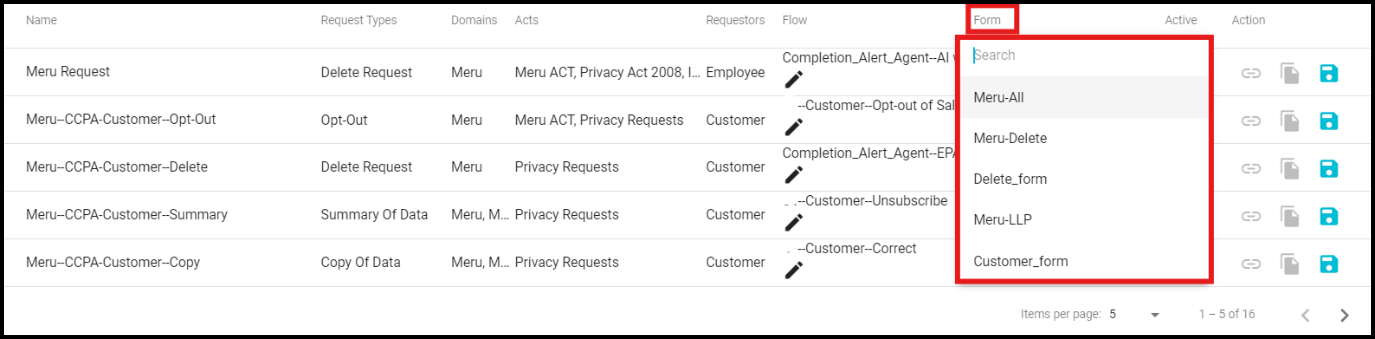
Select the required 'Form' from this drop-down menu.
The Edit icon in the Form section allows you to map different rule sets to request type, sub-types and requestor sub-types.

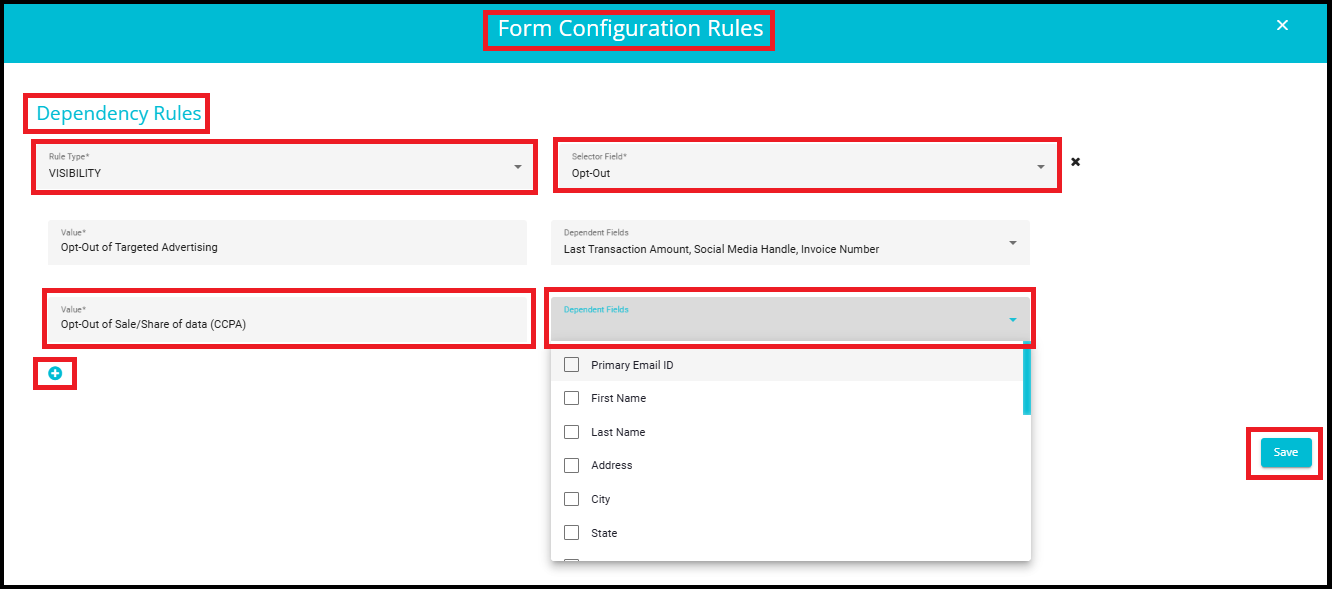
When you click the edit icon on a form, you will be navigated to the Form Configuration Rules page, where you can set up dependency rules for form fields.
Rule Type: This dropdown lets you choose the type of rule to apply.
Rule types include:
Visibility: Controls whether a field is shown or hidden based on conditions.
Required: Controls whether a field must be filled in based on conditions.
Selector Field: Select the field whose value will trigger the dependency rule.
Example: "Opt-Out" is chosen as the selector field.
- Value: Enter or select the value(s) of the selector field that will activate the rule.
Example: "Opt-Out of Targeted Advertising" or "Opt-Out of Sale/Share of Data(CCPA)".
- Dependent Fields: Choose one or more fields that will be affected by the rule.
The dropdown lists all available fields (e.g., Primary Email ID, First Name, Last Name, Address, etc.).
These fields will become visible or required based on the rule configuration.
- Add Dependency Rule (+ icon): Click the + icon to add one or more dependency rules.
Each rule can have its own conditions and affected fields.
- Save: After configuring all dependency rules, click Save to apply the changes.
Check the 'Active'
 icon after making all these selections.
The Action icon allows you to copy the mapped Privacy Portal link to your clipboard.

- The Privacy Portal for that particular mapping will appear as shown below.
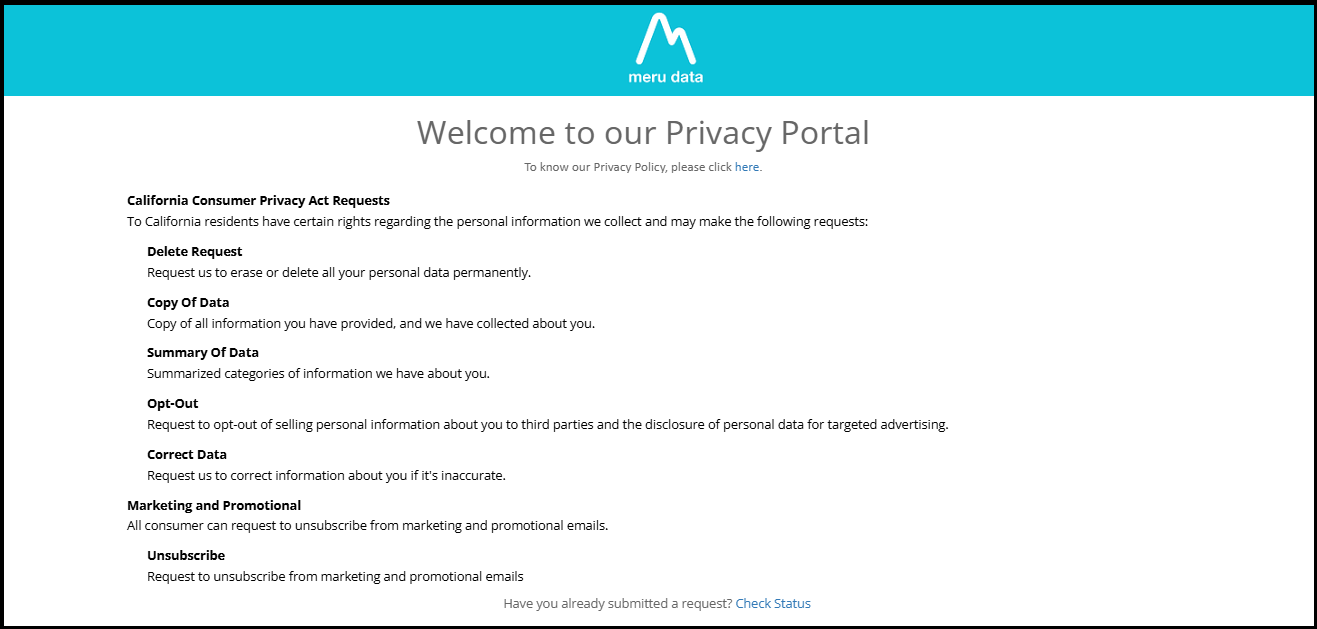
- Tap the
 to 'Clone' or the
 icon to 'Save'.
Note: The chosen configurations would appear only after checking the Active option. Once this is done and saved, you can see all the configurations on the Welcome Screen.
If you attempt to create a configuration like an existing one, a popup appears stating: The configuration for this combination already exists.
